Introduction
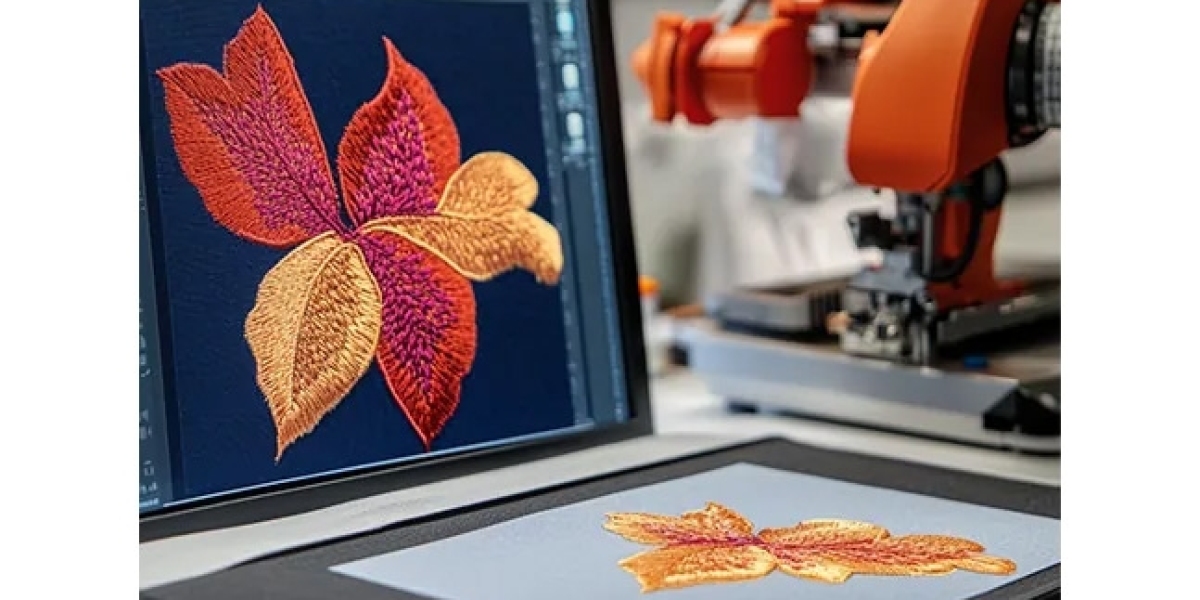
Converting SVG files to PES format opens up a world of embroidery possibilities. Whether you want to stitch your own designs or customize existing artwork, understanding this conversion process is essential for any embroidery enthusiast. The key to success lies in using the right PES file converter - a tool that transforms your vector artwork into stitch-perfect embroidery files ready for your Brother machine.
This guide will walk you through everything you need to know about PES file converters, including:
Why PES files matter for Brother embroidery machines and home embroidery systems
The best conversion methods for different skill levels, from free online tools to professional software
Common mistakes beginners make when using a PES file converter (and how to avoid them)
Free and paid tools that deliver professional-quality conversions
Essential tips to optimize your SVG designs before converting
By the end, you'll be using a PES file converter like a pro, ready to bring your digital designs to life in beautiful, precise stitching. No more guesswork - just perfect embroidery results every time.
Understanding SVG and PES Files
What is an SVG File?
Scalable Vector Graphic format
Uses mathematical paths rather than pixels
Editable in programs like Adobe Illustrator
Ideal for logos and crisp designs
What is a PES File?
Brother embroidery machine format
Contains stitch data, thread colors, and sequencing
Recognized by most home embroidery machines
Cannot be directly edited like vector files
Why Convert SVG to PES?
Machine Compatibility
Brother machines (and most home embroidery systems) require PES format rather than SVG.
Preserve Design Quality
Proper conversion maintains:
Clean edges
Accurate colors
Proportional sizing
Editing Capabilities
Converted files allow you to:
Adjust stitch types
Modify thread colors
Resize for different projects
3 Reliable Conversion Methods
Method 1: Using Ink/Stitch (Free)
Best for: Tech-savvy beginners willing to learn
Steps:
Install the free Ink/Stitch extension for Inkscape
Import your SVG file
Adjust stitch settings (density, underlay)
Export as PES
Pros:
Completely free
Good control over stitch parameters
Cons:
Steep learning curve
Manual adjustments required
Method 2: Online Converters
Best for: Quick, one-time conversions
Top Options:
MyEditor
OnlineEmbroidery
Convertio
Steps:
Upload SVG file
Select PES as output
Download converted file
Pros:
No software installation
Instant results
Cons:
Limited customization
File size restrictions
Method 3: Professional Software
Best for: Frequent conversions and advanced users
Recommended Programs:
Wilcom Hatch
Embrilliance
Brother PE-Design
Steps:
Import SVG
Auto-digitize or manual tracing
Fine-tune stitch settings
Export as PES
Pros:
Professional-quality results
Advanced editing tools
Cons:
Expensive ($$$-$$$$)
Requires training
Pre-Conversion Checklist
Optimize your SVG file first:
1. Simplify Complex Paths
Reduce nodes where possible
Combine overlapping shapes
Remove hidden layers
2. Check Scale and Proportions
Measure intended embroidery size
Note minimum stitchable details
3. Assign Colors Strategically
Group elements by thread color
Avoid gradients (convert to solid fills)
4. Clean Up Artifacts
Delete stray points
Close open paths
Remove unnecessary elements
Common Conversion Mistakes
1. Ignoring Stitch Direction
Problem: Uneven fabric pull
Fix: Vary angles in fill areas
2. Overlooking Underlay
Problem: Fabric puckering
Fix: Always add basic underlay
3. Converting at Wrong Size
Problem: Distorted proportions
Fix: Set dimensions before converting
4. Using Low-Quality SVGs
Problem: Jagged edges
Fix: Start with clean vector files
Post-Conversion Tips
Test Stitch Small Sections
Check problem areas first
Verify thread tension
Adjust Machine Settings
Slow down speed for complex designs
Use appropriate stabilizer
Save Multiple Versions
Different sizes
Alternate colorways
Free Alternatives Worth Trying
1. SewArt (Limited Free Version)
Basic auto-digitizing
Good for simple shapes
2. Stitch Era Free
Surprising capabilities
Watermark on free version
3. Ink/Stitch
Most powerful free option
Requires Inkscape knowledge
When to Consider Professional Help
Invest in professional digitizing when:
Your logo contains small text
Working with specialty fabrics
Needing production-quality results
Designing for commercial use
FAQ
Can I convert SVG to PES for free?
Yes, using Ink/Stitch or limited online converters, but with fewer customization options.
Why does my converted design look pixelated?
This usually means your original SVG wasn't true vector art or was too low resolution.
How small can details be in converted files?
Generally, don't go smaller than 2mm for text or fine lines.
Can I edit the PES file after conversion?
Only with embroidery software - not as easily as SVG files.
Conclusion
Converting SVG to PES doesn't have to be intimidating. Start with simple designs using the free tools mentioned, then gradually work up to more complex conversions as you gain confidence.
Remember:
Clean SVG files convert best
Always test stitch small sections
Professional software saves time for frequent users
Your perfect stitch-out starts with a proper conversion. Now that you understand the process, your embroidery machine is waiting to bring those SVG designs to life in beautiful thread. Happy stitching!


